

Project Description
"The Netflix Clone" is an exciting Project where we aimed at developing a scalable, high-performance streaming platform, replicating the core functionalities of the popular streaming service, Netflix. Leveraging the power of Kubernetes for container orchestration and seamless integration with GitHub for version control and continuous integration, this project aims to provide an immersive and reliable streaming experience for users.
Key Features:
Kubernetes Cluster Deployment: The project employs Kubernetes, an industry-leading container orchestration tool, to deploy and manage microservices across a distributed network of nodes.
GitHub Integration: The project integrates tightly with GitHub, a widely-used version control platform. Developers can collaborate efficiently and track changes made to the source code throughout the development lifecycle.
Docker-based Containerization: The Netflix Clone project utilizes Docker for containerization, encapsulating each microservice and its dependencies in isolated containers. This approach ensures consistency across various environments and simplifies deployment and scaling tasks.
Creating a Kubernetes cluster
Login to your AWS account and create two EC2 Instances with at least 2 vCPUs and 4GiB RAM. I've taken "t3.medium" Ubuntu instance for that purpose.
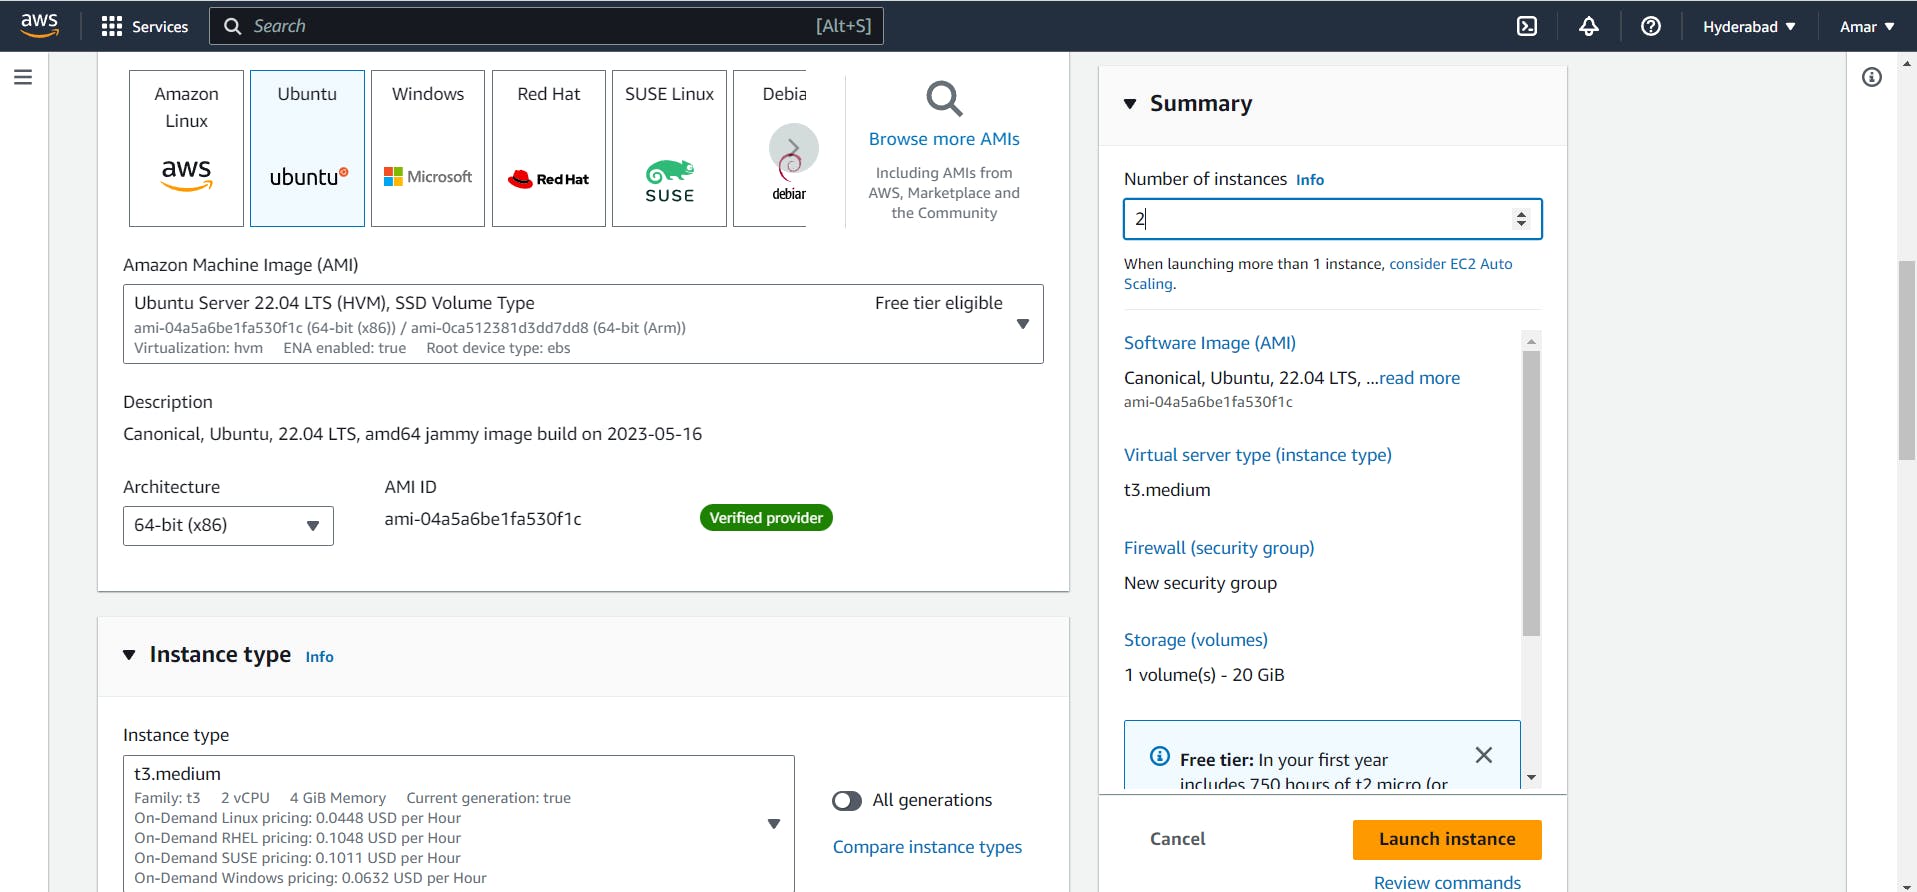
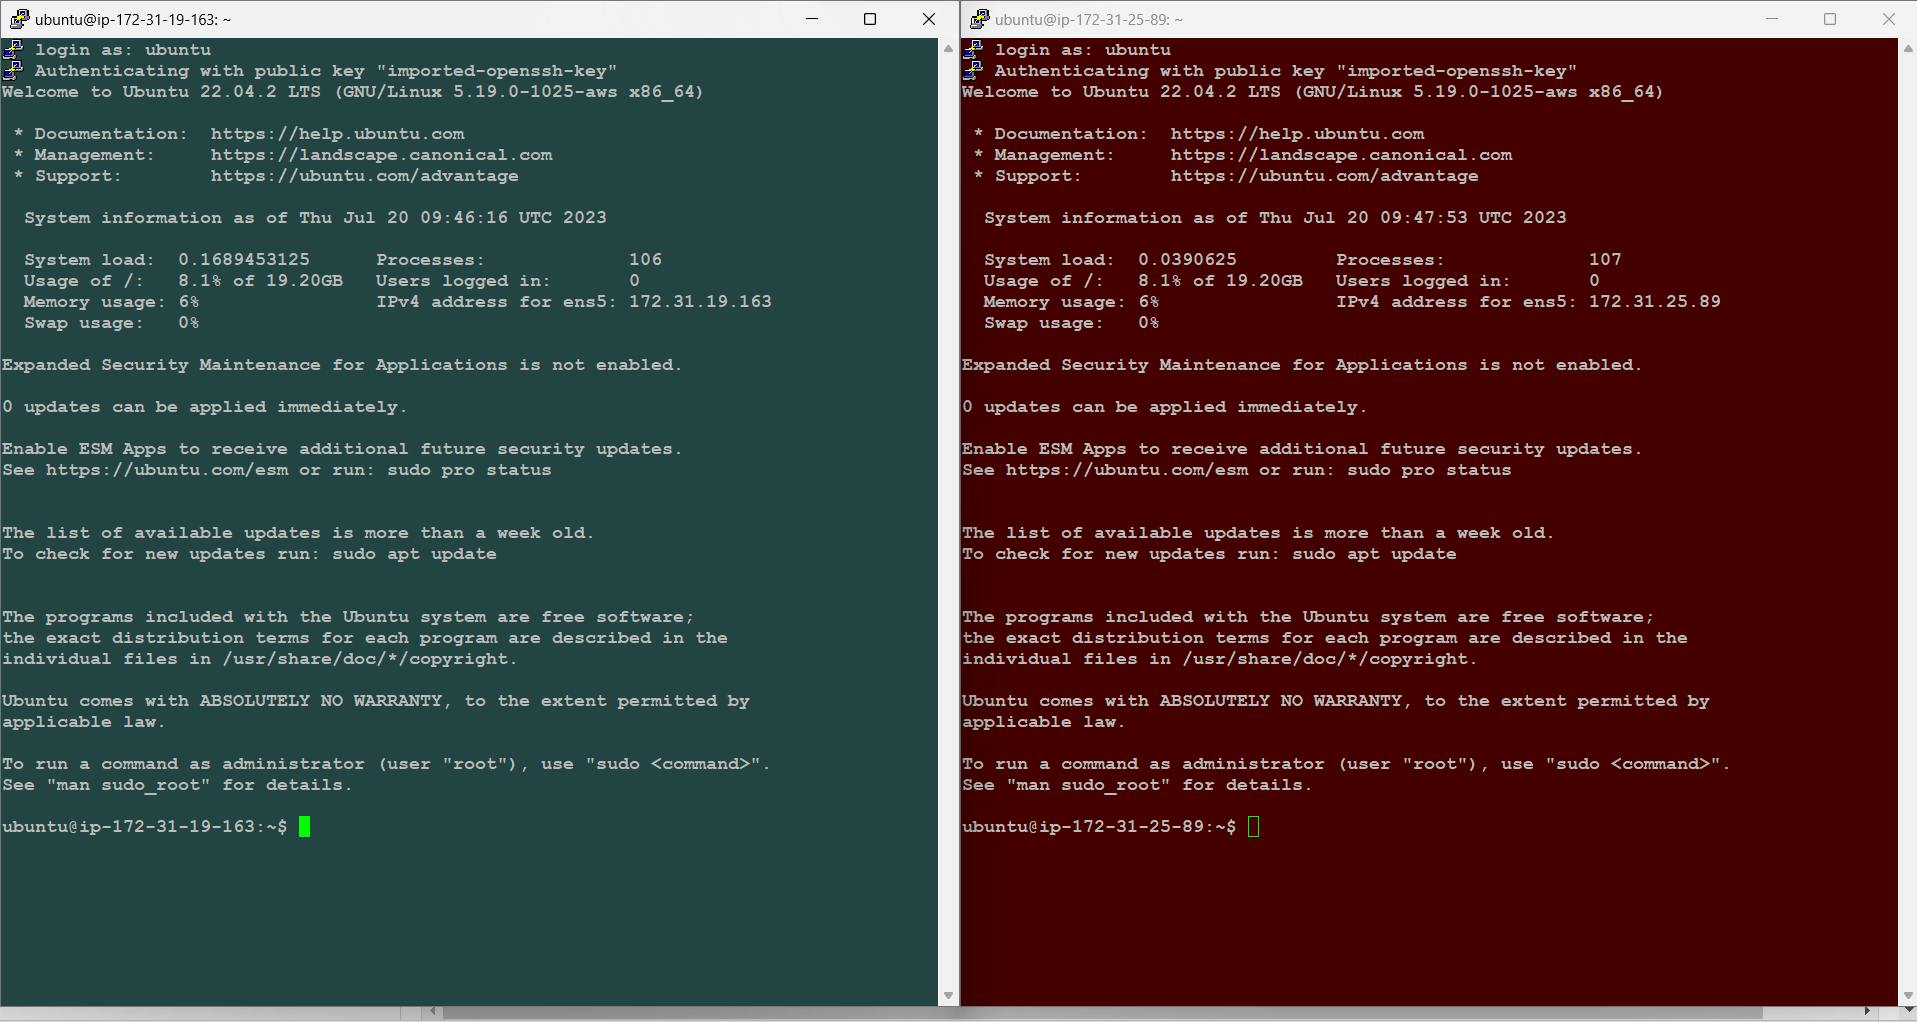
Let's call one Master and the other one Node
Now, Install Kubeadm.
If you need help with Kubeadm installation you can click here.

Done! Our Kubernetes Cluster is ready!
Let's get started with the project
Clone the repository into your local
You can fork my repository by clicking here.

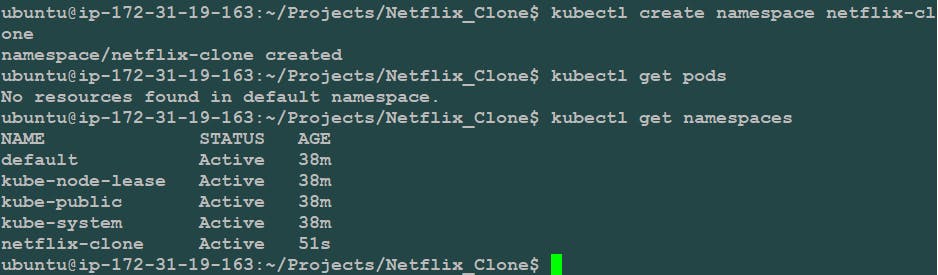
Create a namespace
I've created a namespace "netflix-clone"
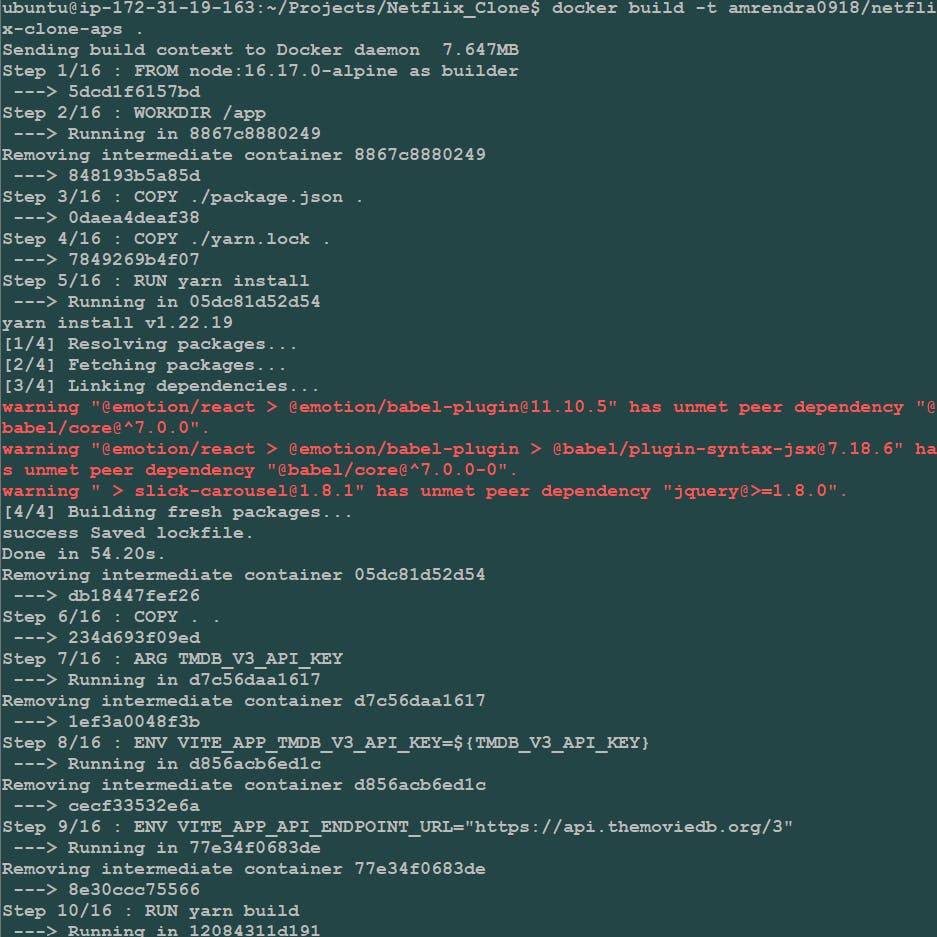
Build the Image using Dockerfile
For that, you need to add your user to the docker group.

Now Build the image.
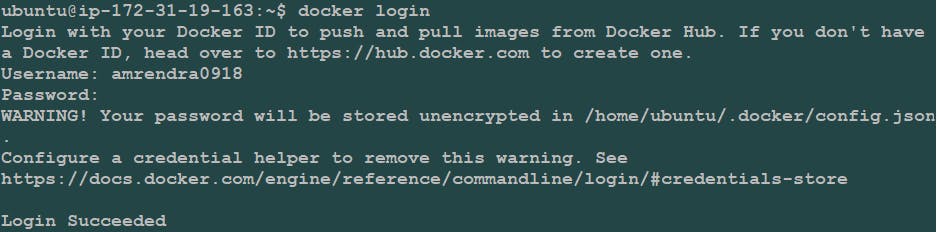
You can also log in to your docker hub account and push the image to your remote registry. (optional)

Create a deployment file
vim deployment.yml
Now, Apply the deployment.yml file and check if the pods are created or not.

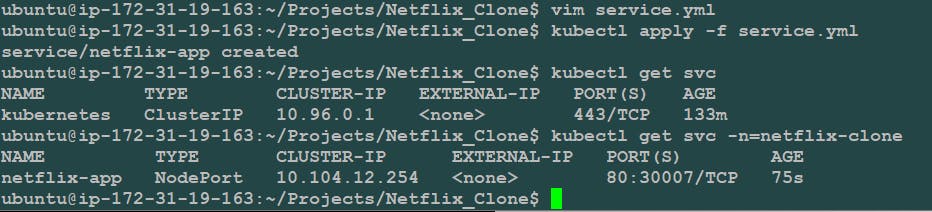
Create a Service file
Create a
service.ymlfile to expose the Kubernetes service using a NodePort and allow access to the service from the external world.vim service.yml
Now, Apply the service.yml file and check if the service is created or not.
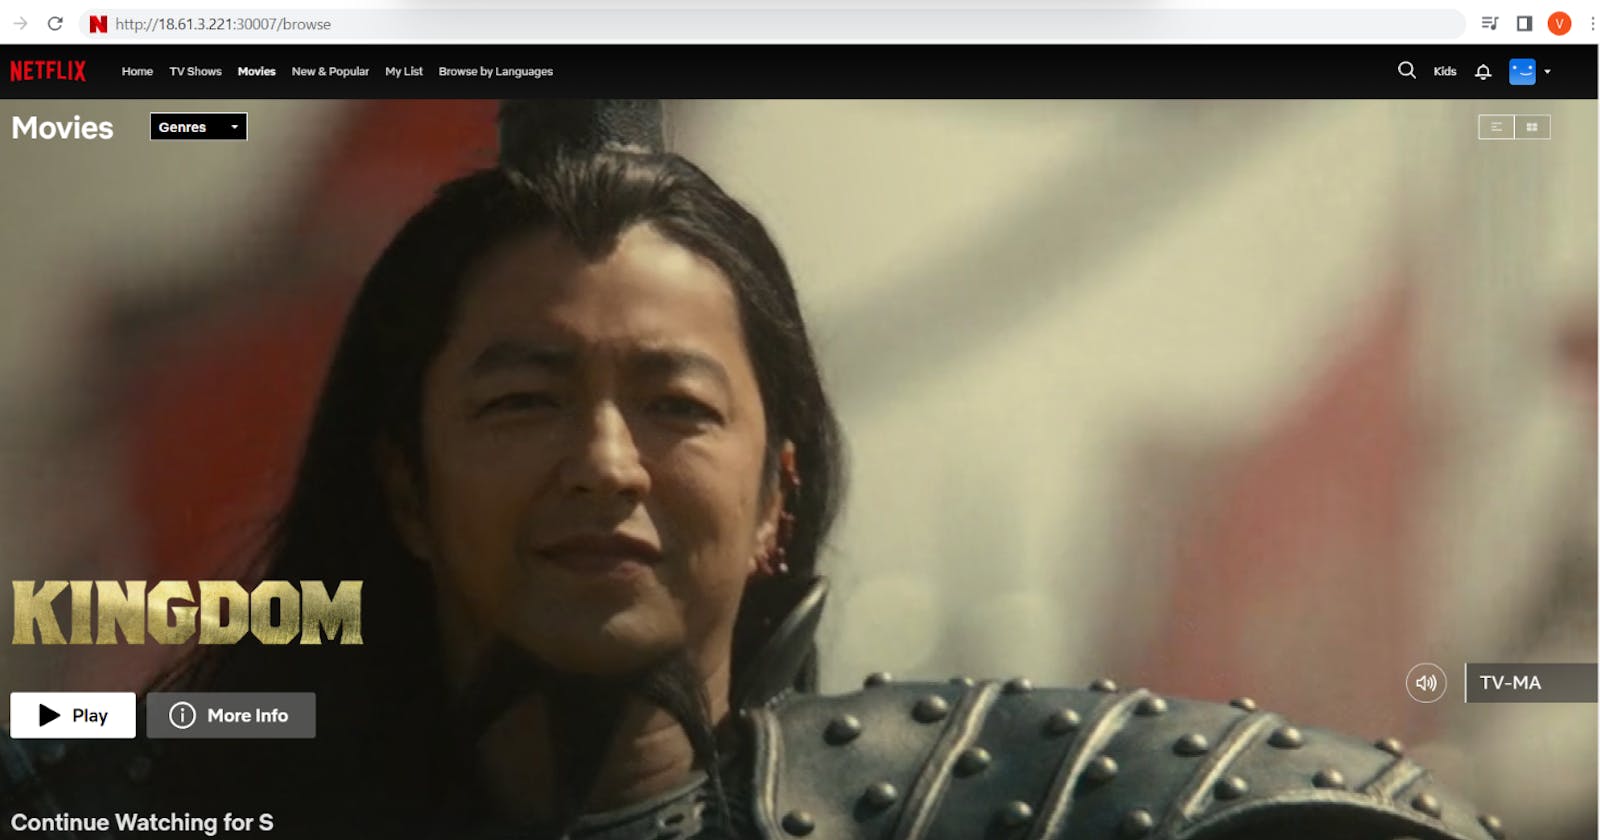
Check your application
Copy your worker node public IP and paste it with port 30007 in a browser and try to access it.
<Public_IP_Worker_Node>:30007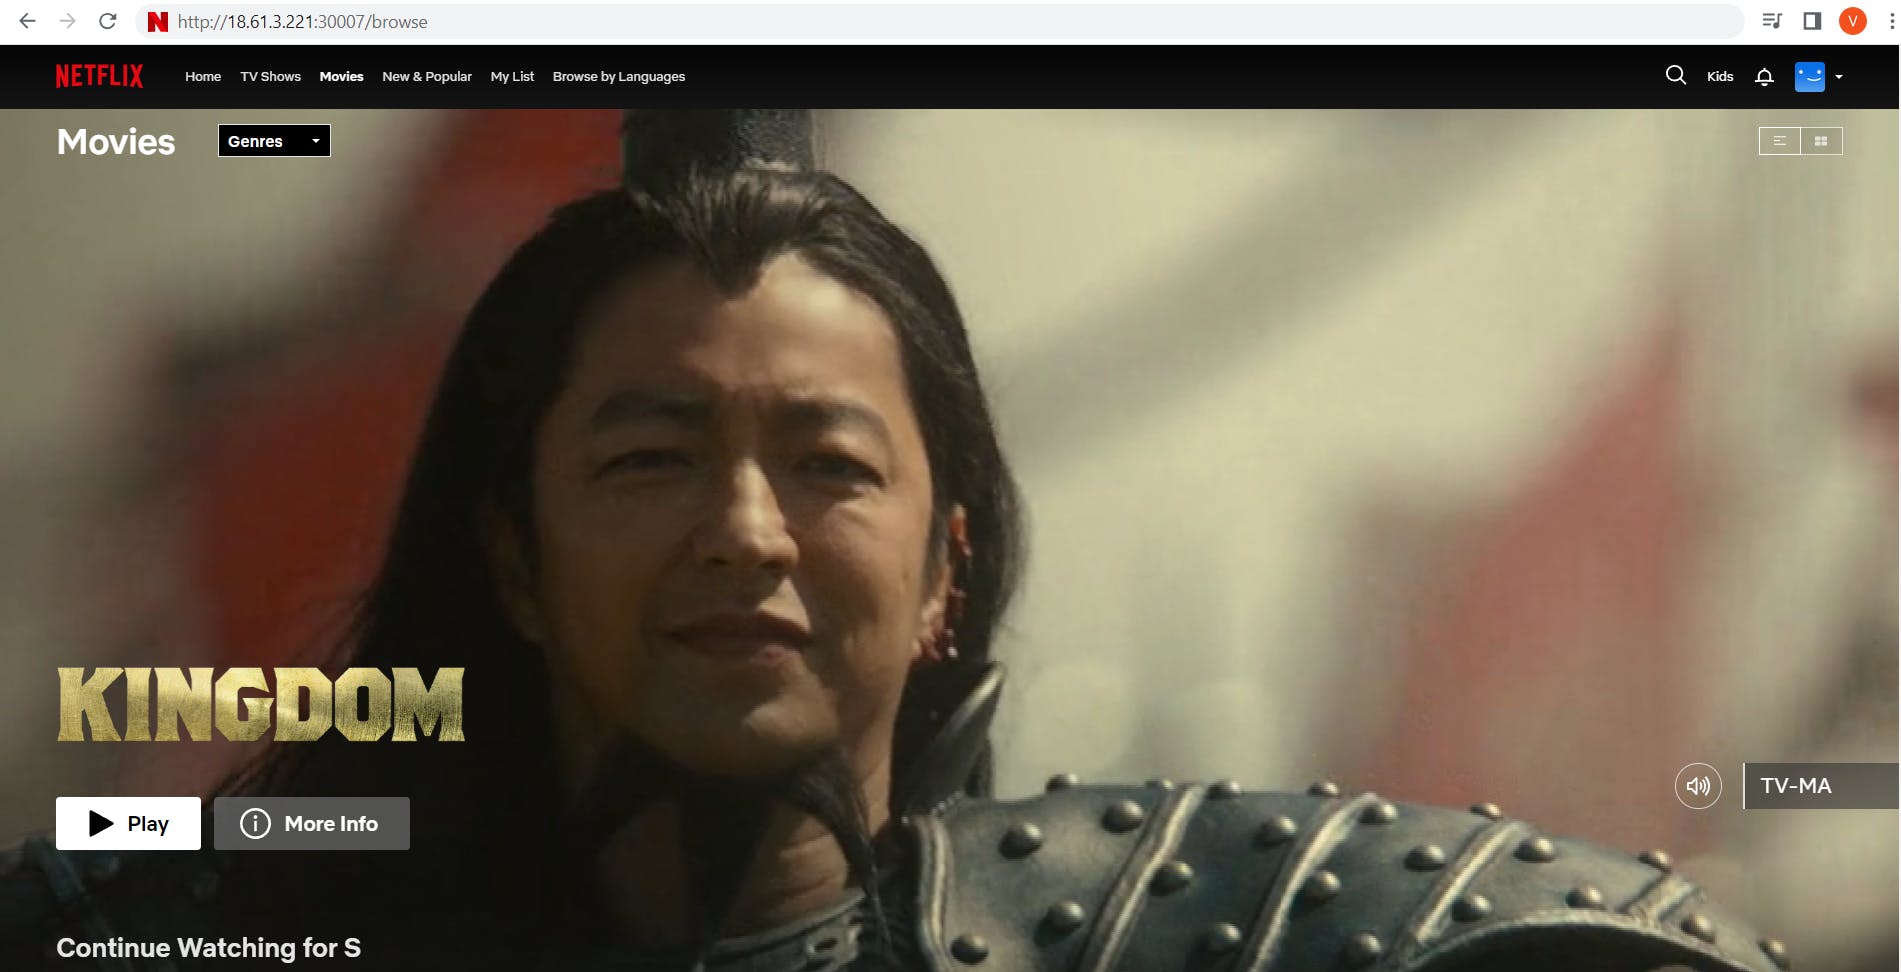
Yay!
Great Job.
Hope you found this project valuable and that you learned something out of this blog.
Thanks for reading!
Happy Learning!